Saturday, 17 June 2017

TMWWBK Zulu game

Our last game was our first group game of TMWWBK rules from Osprey.

Zulus attacking the British in a defencive position much like Rorke's Drift.

The British have set up a defencive perimeter making use of the buildings as well as the stone walls and a dried up pond. The wagon loads of supplies have been piled to form  barricades and the empty wagons have also been employed to fill some gaps.

Image
 The British setup behind their barricades and await the rush of the Zulus.
Image

Image

Image
 The British realise they can't defend at every point but wait to see where the Zulus will attack .
Image
 When the Zulus appear on the horizon, the British decide to pull back to a towards the stone kraals.
Image
 The Zulu attacks are coming from three sides.
Image
 While the British pull back  in front of the advancing Zulus more Zulus, armed with firearms, on the hills above, begin to pick off some of the defenders.
Image
 Some of the Zulu units are keen for action and race off after the retreating British troops.
Image
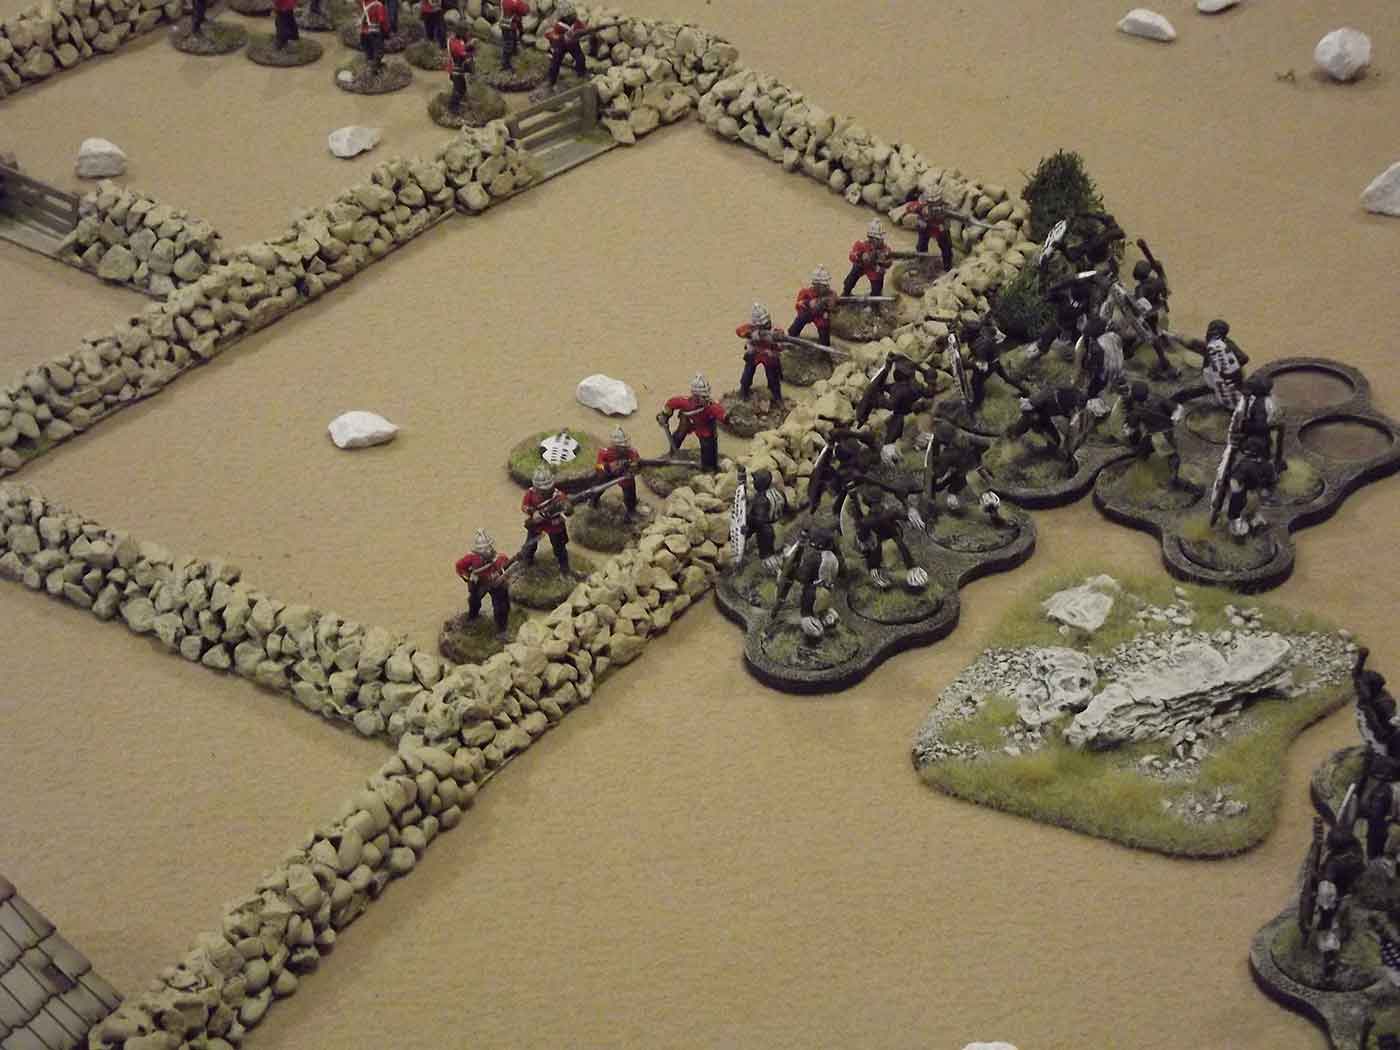
Zulus making use of the barricades before leaping over them to charge at the British.
 Other Zulu units are not as keen to get into the fighting.
Image
 The initial attacks are pushed back by the British, but there is always more Zulus following up.
Image
British command directing the defence.

Image

Image
 With the help of the snipers another Zulu charge  finds success and force the British back.
Image

Image

Image
 A unit of British troops are in deep trouble. Almost surrounded by Zulus they try to shoot it out.
Image
 More charges and more good shooting from the hills is depleting the British numbers.
Image
 The exposed British unit slowly retreats as it's numbers dwindle.
Image
 Eventually they make it back behind the barricades with their friends......
Image
 .....but there are several units of Zulus charging toward them.
Image
 Desperate stuff for the British as the Zulus cross over the barricades.
Image
A British unit has been forced to turn and face the Zulus that have crossed the wall of supplies.
Image
 The Zulus are forced back over the barricade and the shooting from the British units at the walls forces the other Zulu units to fall back.
Image
As these latest Zulu attacks melt away a British cavalry column appears on the horizon. Time is up for the Zulus. The British have held on for the win.

This game was largely based on the Rorke's Drift game found here.

Sunday, 4 June 2017

The Battle of Stackville

The quiet town of Stackville was rather happy to stay quiet. But then the civil war came to town.

Confederate troops stationed nearby the town found themselves directly in line of a Union army heading south.

Image
The Rebels make good use of the stone walls around the town of Stackville.

Image
The Union army advances up to take on the Confederates.

Image
The confederates give the Union boys a friendly welcome.

Image
The Union pressure the Rebel flanks while attacking the town in the centre.

Image
Both sides trade shots as the Union get closer to Stackville.

Image
The first charges from the Union are repulsed by the defenders.

Image
The Rebels reinforce the town.

Image
The Union build up to another attack.

Image
The Union charge the town again, but it is the same result.

Image
More pressure now from the Union right flank.

Image
Still the Rebels hold out.

Image
Union Zouaves are in the thick of the fighting.
By night fall the Confederates were still in possession of the town. The Union had no choice but to slink away to fight another day.

Rules used were Rank and File.

Monday, 8 May 2017

SYW in 15mm

Our recent game for the group was a SYW game using the Volley and Bayonet rules.

Frederick the Great's Prussians are trying to push through some Russians that are blocking their way, before the Austrian army can catch them.

Image
 The Russians formed up in front of the advancing Prussians.
Image
 The Prussians prepare to attack the Russians and defend against the Austrians to their right.
Image
 and, the Austrians who are keen to mix it with the Prussians before they breakthrough the Russian lines.
Image

Image
 The Russians manage to hold off the Prussians first attacks,
Image
 but their subsequent attacks found some success.
Image
 The Russian division to the right of the town was badly mauled and was forced to withdraw behind their reserves.
Image
 Pressure from the Austrians on the flank was preventing the Prussians from finishing off the Russians.
Image
 The Prussians were trying to withdraw from the Austrians and advance through the Russians at the same time. Not an easy thing to do!
Image
 Prussian cavalry forced the remaining Russians off the ridge.
Image
 but that just exposed them to the Russian reserves.
Image
 With the Austrians pressing on with their attacks, time was running out for the Prussians.
Image
 The Russians to the left of the town were almost untouched through out the battle.
Image
The Prussians through in all they could to get the breakthrough that they needed but it was all in vain. They had now suffered too much and had no choice but to slink away and lick their wounds.

Figures and most of the terrain from Adrian's collection.