Tuesday, July 14, 2026

A Game of Inches

The other night I decided to experiment with a half-sized play area for One Hour Wargames - just to add my voice to the chorus of those who are happy to celebrate that you don't need a lot of figures or space to play miniature wargames that aren't 1 figure = 1 man/lizard/orc/etc. And you can use 28mm+ sized figures to do it.

Some will no doubt guffaw at such a spectacle, but not all of us have room for large tables, permanent or otherwise, nor do we all have easy access to clubs or stores that provide tables and space to game.

I have used 3" wide bases many times, and that is half the max 6" width Neil Thomas recommends, but usually I play on 2/3 size surface with them, just to have some more room for maneuver or to play 8 v 8 instead of 6 v 6, or to better fit some of my terrain pieces, which were intended for the full-size 36" square.

Enough rambling!

Here is one of my favorite scenarios, set out on my kitchen island using an 18" square (my 36" surface folded into 4ths!)

Image
The Black Orcs, which I treat as "shieldwall", are hard to see, but they are in the village. The savage orc "warband" covers the gap between the road and the mountains.
 
Image
Bottleneck!

Image
No room around this.

Image
Next!

Image
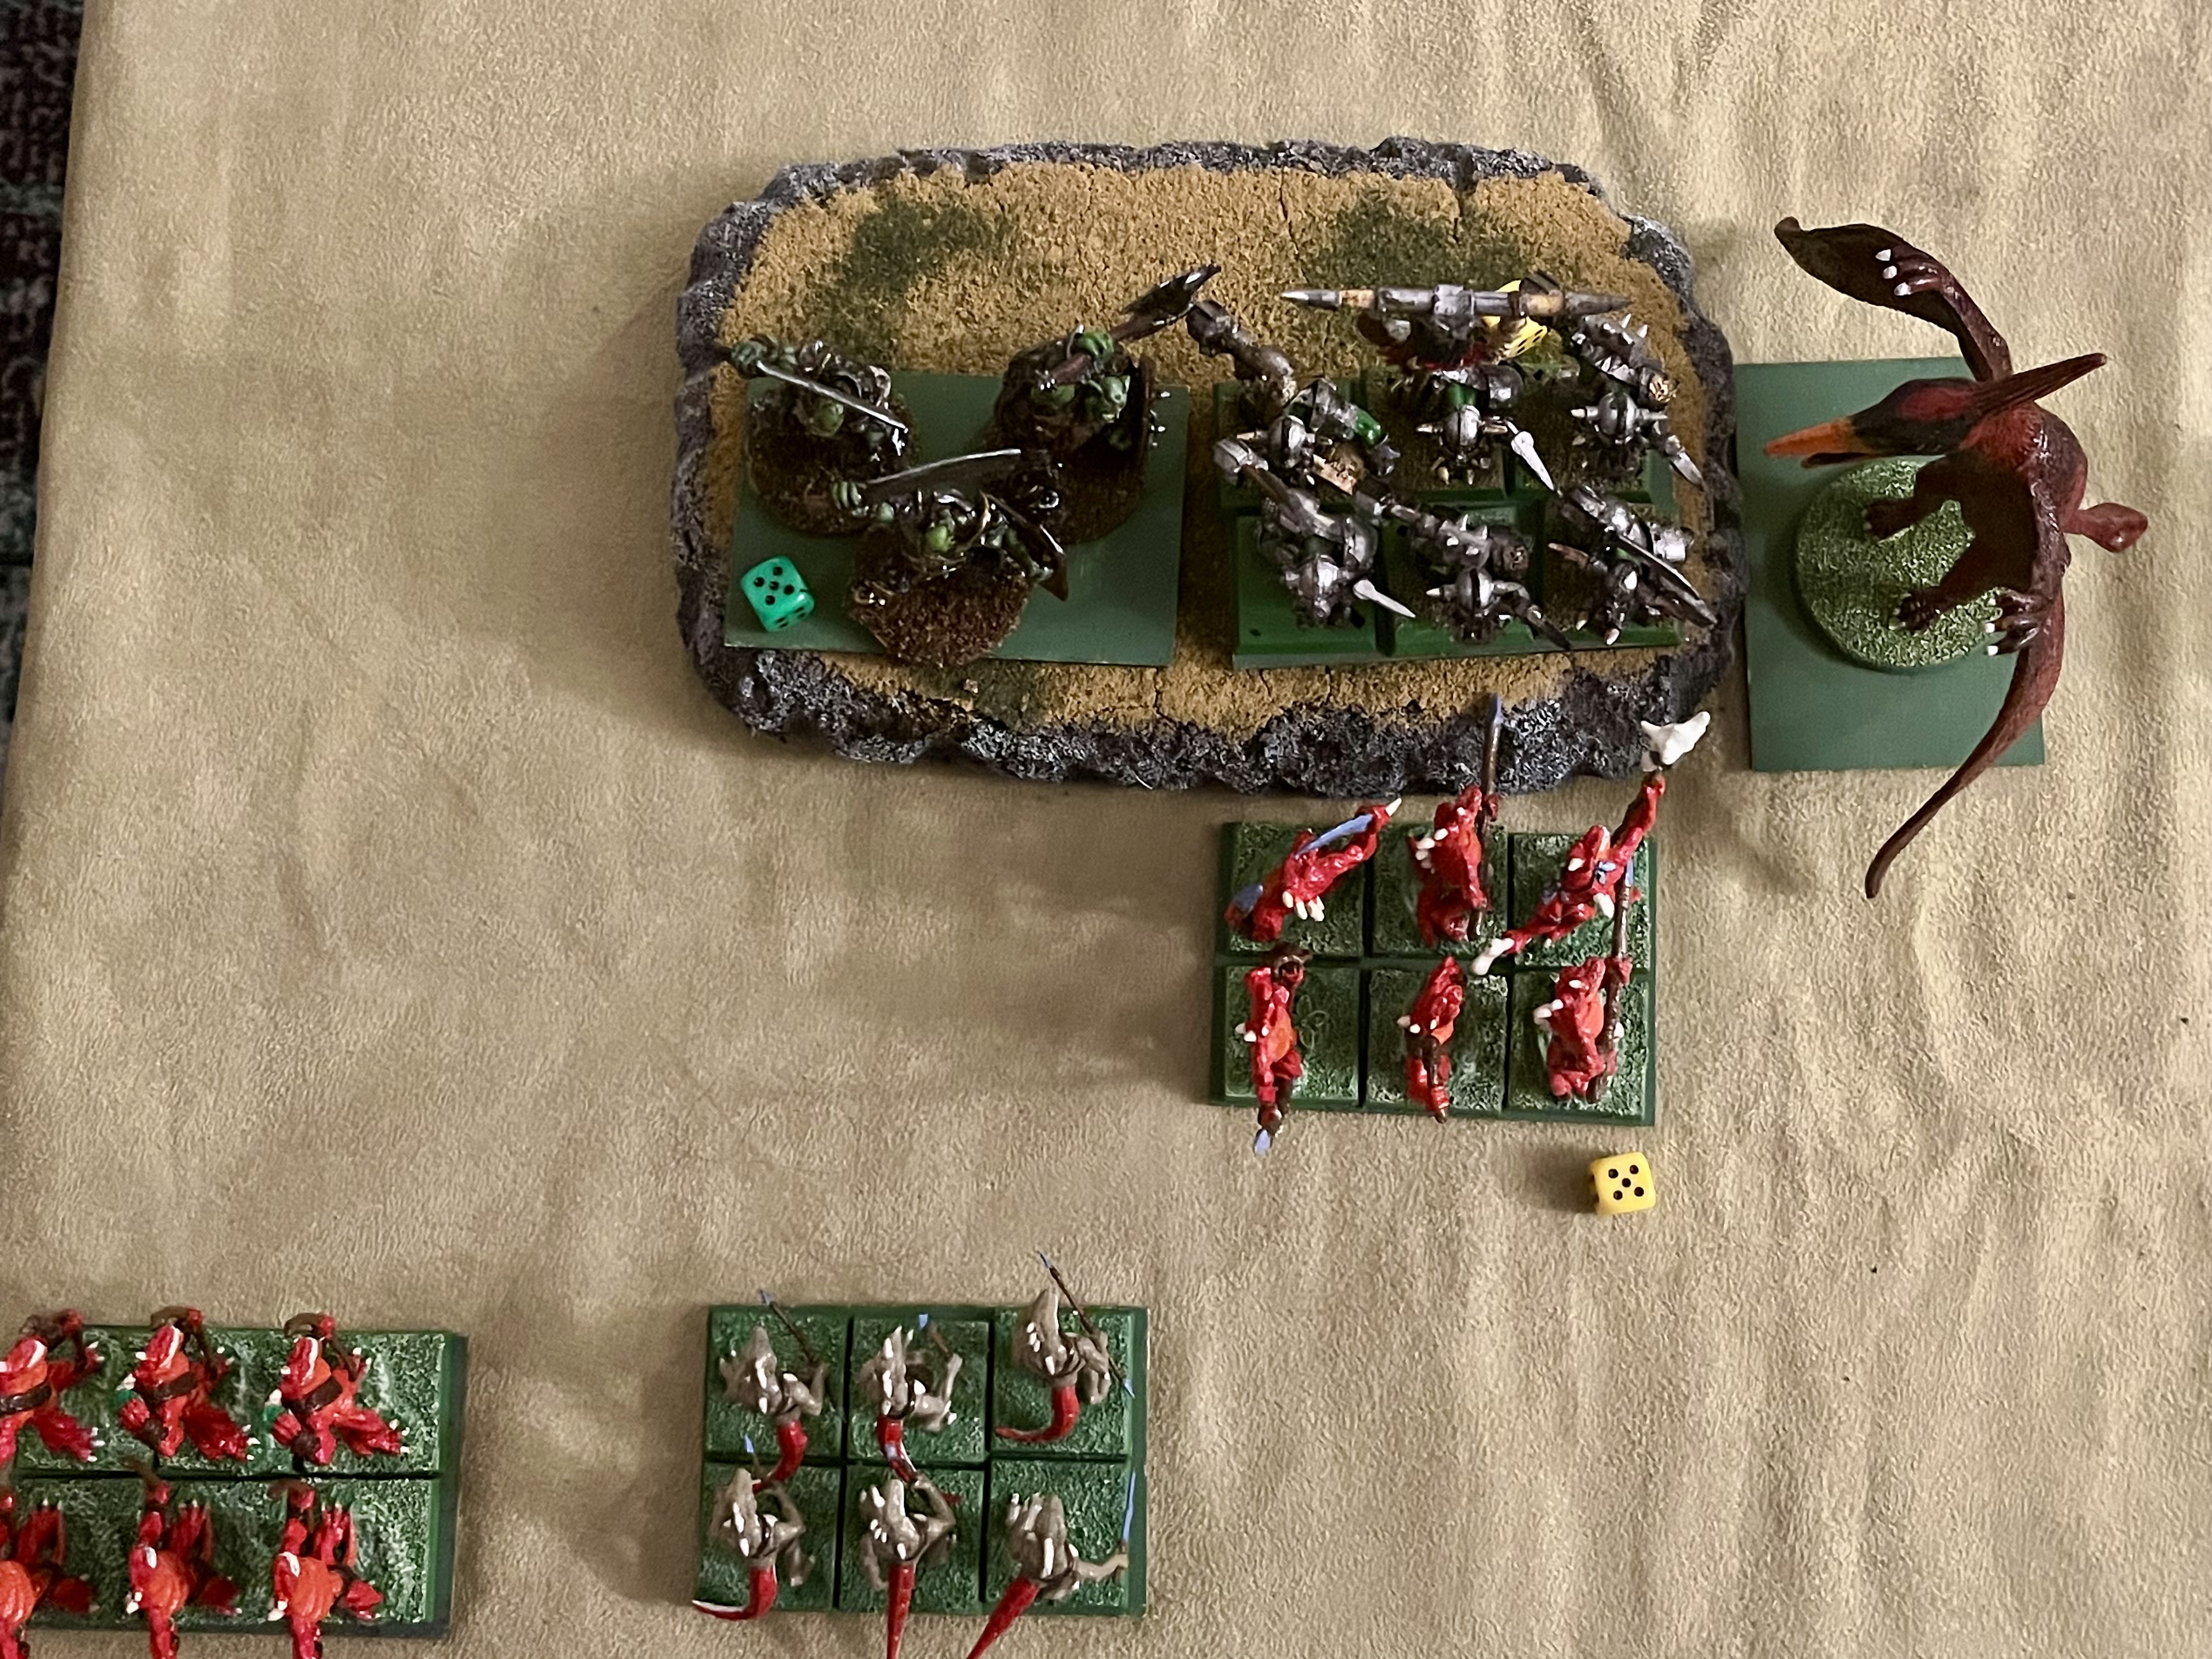
Turn 5 - Orc first wave of reinforcements arrive.

Image
And quickly take over for the fallen warband.

Image
And do a splendid job of it.

Image
Turn 10 and the second reinforcement wave arrives. The lizards are cooked. I call the game after another turn or two.

The game, enjoyable as it was to look at, felt frustrating as play went on. 

The lizards could never get a second unit up between the orcs and the mountains and so one unit of orcs at held of a far larger force. When they finally fell, they were replaced by reinforcements and the pattern continued. 

Realistic, but not how this scenario usually plays out (often the attacker at least reaches the village even if they don't capture it).

Then it occurred to me: I never go this small an area because my terrain is not sized for it!

The mountains are 7" across - which means they truncate the center as do the 8" diameter woods. Neither piece should be over 6" if they are to occupy 1/9th of the table per the scenario setup.

So I moved them slightly apart (overhanging off my cloth just a bit) and the result was much more satisfactory - I could fit another base through the gap now. 

The game started out almost identically with the orc unit defending the road eliminating the lizard cavalry, but a second lizard unit was able to move up and attack the orc unit from the flank. This opened the way to the village (where the orc "shieldwall" was located).

Image
I love the colorful look of the lizards.

This time, by the time the first wave of orc reinforcements arrived, the lizards had already begun their assault on the village.

Image
The orc cavalry are dangerous but this time the lizards come out on top.
 
Image
The skinks assaulting the village are driven off, but the orc cavalry repulsed.

Image
A second attempt at the village is made!

Image
And the second wave of orc reinforcements arrive. Note, I decided they couldn't flank the crocodile unit as they are nearly up against the "table" edge and no room for a unit to squeeze in.

Image
The village falls!

Image
The lizards capture the village but it's going to be a close run thing.

Image
End of turn 14, this is how things stand,

Image
The game should have ended on turn 15, but I played one more turn. The lizards were victorious - having captured the village and the remaining orc cavalry retired to regroup and try again another day.

This worked much better - more like how it usually plays out, with the attacker having an actual chance of winning. For future half-sized games I will remember to adjust the size of area terrain to fit the playing area! 

I have the space on this counter to go up to a full 36" square, but there's just something about this tiny setup that I find very appealing so I expect I'll do this more often. 

It also effectively doubles my troops without having to paint anything else. If I need two units of shieldwall for the orcs, I can put 5 per base instead of 6! These (and, the Boar Boyz), are old GW metal sculpts and are kind of pricey to buy enough to make a full unit - so the savings are not insubstantial.


Sunday, July 5, 2026

New Apartment, New Game

I noticed Friday that Wargame Vault was having a summer sale and scooped up Dominion of the Spear Revised Edition to try it out with my orcs and lizards.

It was super late at night and I may have missed something in the rules but I wanted to play so I grabbed a small 14.5" table and had at it. I used the basic rules without using any of the options.

The lizards had two Melee Foot, one Elite Melee Foot, one Missile Foot,  and one Melee Cavalry. 

The orcs had three Melee Cavalry, one Melee Foot with a Defensive Advantage, and one Eliete Melee foot.

Lizards won the roll to be the attacker.

The overhead lighting here is not great for pics of minis at 1AM and I haven't moved my lamps from the old apartment yet. So, apologies for the heavy shadow.

Turn 1. 

The battle lines were drawn.

Image

On the left, lizard archers ineffectively rained arrows down on a unit of charging Boar Boyz who were held off by the archers and forced to regroup for another charge. In the middle Geckos and Black Orcs clashed in fierce melee, but neither line moved. On the right, the elite foot of both armies, Gators and Wild Orcs, crashed in a bloody melee, that saw both units devastated and driven from the field.

To replace the Gators, the Skinks were brought up from the reserves. A unit of Boar Boyz rode to the front to replace the fallen Wild Orcs.

Image

Turn 2.

The lizard archers unleashed an unrelenting barrage of arrows on the Boar Boyz before they could make contact, and the orcs were driven from the field. In the center, the Black Orcs were overwhelmed by Gecko ferocity. But on the right neither the Skinks nor the Boar Boyz could gain any advantage.

The Boar Boyz in the reserves charged to meet the Geckos, but their left flank was totally exposed as a result.

Image

Turn 3.

The exposed flank would be their undoing. With the orc center gone, the Boar Boyz on the right were now exposed on their flank and the Geckos attempted to take adavantage - but finally some luck went the orcs' way and the attack was repulsed. Their luck did not last long, and though they managed to drive the Skinks from the field, they Boar Boyz were destroyed in the attempt.

Image

I think the game took something like five or six minutes. Certainly fun, but I like the changes that are in Dominion of the Trenches as they give the player more decisionsThose changes are included in Appendix A in this revised edition.

I'll be using "Option C" for determining battle sector (instead of all three every turn as in the core rules) and the Unreliable Disadvantage. Both of those options are standard in Dominion of the Trenches. The Rally and General options in the appendix also look good, and I'll try those eventually as well. 

The other thing I like about Dominion of the Trenches is that you bring up reserves to the sector that just fought, and it's not guaranteed, ie. you have to roll for it. So, I will probably use that (it adds a lot to the narrative).

However, I plan to modify the die roll with the same modifiers used for different troop types facing each other. For example, an archer unit in reserve would get +1 to its roll to move up from reserves if it would be facing a Mounted Melee unit. Conversely, a Mounted Melee unit being sent up to face archers would get -1 to move up from reserves, to reflect that extra effort it would take to motivate them to face a rival that has an advantage.

Finally, I'm thinking of stealing Leadership Points from Battles of the American Revolution  and givng each side the opportunity to spend 1 point per turn to add +1 to a roll. That one I'm less sure about though. I'll have to try it out a few times. Which means I need to play some games. Boo-hoo!


Sunday, June 28, 2026

End of June Cornucopia

I'm moving soon - Monday officially, although I'll have two apartments for July while I finish moving bits and pieces of things - and sorting through things to decide what to bin, what to donate, and what to pack this past week has taken up a lot of time. 

Still, I did manage to squeeze in hobby time last weekend to alleviate some of the stress of the whole thing.

First and foremost, I finished my Adepta Sororitas Hospitaller. 

Image
That "rock" is the foam core from a piece of well, foam core. I peel off the paper on the front and back and just use the foam bit.

Hers was the first base I used flowers and various grass tufts on - pleased with the results, I finished the baes on the rest of my Sisters:

Image
One squad has predominantly red flowers, one has predominantly black flowers. The red flowers are a better product frankly, but I like having the color distinction to prevent intermingling on the tabletop. 

For Father's Day last Sunday, I received this little gem:
Image

And it's literally little. It's Worthington's Battles of the American Revoltion : Oriskany & Freeman's Farm travel sized set. 

I've only played the Oriskany scenario so far - and it took five attempts before I got my first American win. The Americans have a restricted setup zone but the British and their Native American allies can set up anywhere on the board as long as they aren't adjacent to an American unit or inside the American setup zone.

Image
The setup for my most recent game.

Victory is achieved by the first side to earn 6 Victory Points. VPs are earned by eliminating units and for the Americans by exiting a unit off the board via the road hex on the left edge.

Image
End of Game, the Americans eliminated 6 British units

Each side has number of leadership points and only one can be spent per turn per side. The question of when and where to spend and on which bonus (Rally, +2 movement points to one unit, or +2 combat points to one unit) adds interest to the game.

The rules are pretty short and a far cry from something like ASLSK or Great War Commander or even Hold the Line (which I used to own). There are definitely questions that arise as a result. 

For example, can a retreating unit end up adjacent to an enemy unit that it was not in combat with previously? I originally thought no, but then I found this led to very short games - a unit taking a one step loss was then forced to take a second step loss by being adjacent to a new enemy and thus eliminated. So now I say yes. 

Another example, must a unit attack every unit it's in contact with? Some people BoardgameGeek say yes. I'm not sure about this - again it's a question of game length.

My only other, not gripe, but occasional annoyance, is that the counters fill the hexes and it's too easy to nudge adjacent units when trying to move a unit. I get that compromises must be made to be travel-size and it doesn't really bother me all that often.

Those issues aside, it's a fun, light game that is quick to setup and takes up just a small space.

I gave Scenario 2 from Great War Commander another try as well, this time intentionally placing the French at the start, rather than randomly determining how they'd deploy.

Image
The French deployment - Leaders within command distance of other leaders allowing for many more units to be activated by a single order.

I won't do a turn by turn narrative - I need a better system for note taking for that. But, I will say, the French got off to a bad start, with friendly fire from the pregame barrage landing on one of their own.

The French received an Offensive card on the first turn and so I immediately put to use - trying to play them aggressively, in-line with the historical event.

The effect was ... not what I imagined.  Almost every French unit involved in the Offensive was broken by coordinated op-fire. 

Image
Also visible in this picture, The French called in an artillery strike. And it nearly landed on their advancing units. smh.

Despite the rough start, the French reached the village and engaged the enemy at the point of the bayonet.

Image

The game ended in Sudden Death with then time track reached 10. The French squeaked out a win by just two VP, but as the picture above shows, they were dominating the Germans. 

The Germans had taken shelter in buildings in the town center, but they were virtually surrounded with adjacent buildings in flames or occupied by the French.  A lone German unit, isolated at the edge of town, was essentially bypassed by the French.

Finally, I got out my lizards and orcs for some One Hour Wargames using the 'Dark Ages' rules.

The orcs had one shield-wall, one warband, three heavy cavalry (treat as knights from the Medieval rules), and a unit of goblin skrimishers. The lizards had one unit of archers (treat as Ancients archers), four warband, and one cavalry unit.

For scale, bases are 3" wide x 2" deep.

Image

Image

Image

Image

Image

Image

Image

I played the scenario twice. Both times, the orcs dominated. The fact that they are predominantly cavalry means, in this scenario, their reinforcements can get where they are needed quickly. Their other benefit, the shield-wall depoloying on the hill gives them a unit with a lot of staying power (1/2 damage for shieldwall, 1/2 damage for being on a hill).

Unfortunately, it may be a bit before I can get in any wargaming again - everything is going to be boxed up later today. That said, next weekend is July 4th and I'll be running a game session of our ongoing Basic Fantasy RPG campaign or possibly a one-shot RPG related to the holiday.

Monday, June 15, 2026

Great War Commander : 23 August 1914

This was as a learning game in two respects. 

The obvious one is that this scenario, the scenario #2,  introduces on-table ordinance in the form of a German mortar and off-table artillery in the form of a "telephone" that can call local barrages for the French. The other is that it had been almost two weeks since I played last and I had become uncertain about some rules in the interim which lead to more page flipping than I thought it would.

The situation is such that the French are initiating a last counterattack before withdrawing and the Germans are tasked with holding the village of Onhaye, Belgium. 

The Germans are outnumbered but they do have the cover of the village and reinforcements (a platoon with an MG - not exactly an overwhelming force) are coming. Unlike the French in the previous scenario, the Germans are not required to setup in specified hexes and therefore are not required to start units out of cohesion. There is a limit how deep they can deploy and which columns, but beyond that, the only requirement is that all of the fox holes they are allocated have to be deployed and occupied at the start. 

There are 5 objectives in play in this scenario, three of which are near French deployment so they have a leg up in that respect, but the Germans offset this with 6 VP at the start.

The French get a free barrage before the start of turn 1 that will turn two of the buildings, determined by card draw, to rubble and suppress any units in them. Rubble reduces the defense value of the building from a +3 cover bonus to +2. If later rubble is reduced to a shellhole, the cover bonus reduces to +1.

Because it was my first attempt at the scenario and being more interested in the ordinance and barrage aspects for this first run, I, for good or for ill, opted to deploy the French randomly. I used the cards to do this (the cards all have hexes on them for randomization of effects, such as snipers, blazes, and aerial attacks). The result was a force divided into three - which, while it on the one hand enabled easy capture of objectives for the French, led to some very obviously self-inflicted difficulties coordinating attacks.

Image
Setup, post- pre-game barrage.

As one group of French attempted to capture the village head on, one tried to advance over open ground on the right, and another from the woods to the North West. Open ground when facing machine guns is, not suprisingly, a terrible idea - although the French were luck, recovering more than they lost each time. The French attacking from the woods tried to swing around the back of the Germans, but were completely cut off without a leader after some devastating rifle fire.

As I, and thus the French, began to get the hang of artillery barrages the village was gradually brought down to rubble and shell craters. Unfortunately, the bombing did very little to the Germans occupying the village.

And then the tide began to turn.

Not only did the Germans have reinforcements scheduled to arrive, but they drew a card which gave the * additional * support. 

Image
End of game battle for the village.

Close combats went badly for the French. Although they managed to relink the cut-off units in the back of the village, the Germans continued to hammer the French with rifle and MG fire (the mortar was poorly positioned from the start - my error - and served no role in the proceedings) and initiated their own close combats with success. Meanwhile, the French churned cards looking for Offensive, Fire, or Advance (by this point artillery barrages had become too risky - they can drift from the proposed target and strike your own units ff you're unlucky).

The game clock reached 10 - the first sudden death check for this scenario. A card was drawn and the game ended there and then.  When the points were totaled the Germans won 24 to 18. Basically then, both sides scored 18 points, but the Germans had the 6-point advantage from the start.

Image
The final accounting.

A lot of fun and stimulation of the "little grey cells" (been watching Poirot season 1, for the first time). I think next time - if I can get the game in before too much time passes - I will be able to invest more in focusing on the decisions and less on the rules.

Also for next time: the French setup will be more deliberate, and I will put the platoon with an MG with the highest ranked leader, and the Germans will position their mortar     well away from the town and the French board entry points, to take advantage of the mortar's long range.

And, completely unrelated to the above, a WIP shot of my Hospitaller. Quite a bit left to do, but this figure is finally starting to come together.  and you can get a sense of what the final will look like. 

Image

I'm hopeful that I'll pick up the brush again in the next few days, now that I sense completion is near.

Monday, June 8, 2026

D-Day Game

On Friday evening, after our regular walk to the convenience store for too many snacks, I said to my son,  "Tomorrow is June 6th". To which he replied "We need to watch a movie!" He suggested The Longest Day which I was more than happy to agree to. As it turned out, getting him away from video games with his friends was impossible - and that was OK, he should interact with them.

In the meantime, though,  I cobbled together a makeshift 4' square table from four plastic drawer units and two 2' x 4' panels and set out a variation of ""Bluff at Easy Green" from Skirmish Campaigns : Heroes of Omaha and Panzer Lehr"I no longer have the book, but an old blog post gave me enough to go on.

I had considered doing it with my unpainted 1/32 WWII figures in order to field 5-7 figure squads, but in order to possibly entice my son to join me for a game, I dug out my remaining painted figures (most of my painted 1/32 WWII figures have been sent to other homes or are awaiting donation in preparation for a move at the end of the month). This meant "squads" of four figures, so maybe more like a handful of fire teams per side.

Image
I have long since tossed reindeer moss I used to use to indicate bocage, so the brown strips of craft foam with trees around the fields would have to suffice.

For rules, I decided to do something that would be easy to teach quickly and require little reference if any during play on my part - One Brain Cell Toy Soldiers with a modified version of the wound table (1-2 KIA, 3-4 knock down until next turn, 5+ ignore wound).

Image
Major Sidney Bingham, Jr., 2nd Battalion Commanding Officer of the 116th Infantry Regiment directs a BAR gunner and bazooka at the newly arrived German reinforcements. 
 

 In the event, I played twice before my son saw the setup and wanted to play! Victory!

To encourage movement, I set a 10-turn limit to get 8 of the 15 Americans off the table or it would count as a German victory. 

In the two games I played and in the game with my son, the Americans won (yay!). Which makes sense, given that the scenario is intended to be the 1st of a 3-game mini-campaign and the goal of the Americans is to get off the table, not fight to the last.

In the game with my son, my dice rolling was abysmal when rolling attacks and when rolling on the wound table, but great for initiative - which was wasted every time by the subsequent aforementioned poor attack rolls.

Image
Americans burst out of the orchard to open fire at close range before charging into hand-to-hand and then exiting the table for victory.

Still, our game together did come down to the 9th turn before the Americans reached their victory condition. By the end of that turn though, the Germans were obliterated with but three figures remaining.

My son had fun and I had fun, so win-win really! 

It's also caused me to consider keeping the painted Americans (the painted Matchbox Germans are staying for use as villains in Christmas games) if only to draw my son into games every now and then.

p.s. Regular readers may notice the new game mat. I like how it looks, but it's not quite the measurements specified (it's closer to 47" wide than 48"wide, although it can stretch to that). I will probably cut it down to a 3' square mat (or close to it)  and a 2' square mat, for use in different games.

Tuesday, June 2, 2026

Great War Commander : Bleid, Belgium 22 Aug 1914 Again!

I set up the same scenario again on Saturday night only to realize about 90 minutes in and nearly done, that I had been playing incorrectly - units, for the most part, can only be given one Order per turn. I also kept forgetting the Fog hinderance until turn 6. I have the same problem with the mud turns when I play Battle for Moscow.

So, Sunday, I reset the board and had at it again.

The French setup is always the same per the scenario - except which infantry unit gets the MG, that's up to the player. Units with a functioning weapon, units within a leader's command radius, and units on their baseline are in cohesion. For the French, three of the units start the game already out of cohesion and will be marked suppressed after the 1st turn (which will be the Germans turn). That means they start their own turn already suppressed.

For the Germans, I had advanced up the right twice - which I think is the best approach as it provides fast access to a nearly undefended objective. So, to mix things up, I rolled a die to determine deployment and ended up setting them up to the left instead.

Image
The setup. Rommel is personally leading the platoon with the MG.

Rommel's company consisted of the three platoons to the right. 

He commanded the MG to fire at the French unit which had taken cover in a house and had their own MG. A few bursts of the gun and the French unit broke right off the bat. Not an auspicious start for the French.

Image

The Germans divided their force, with Hauptmann Waldau leading his company up the road on the left, using the craters/shell holes for cover. 

Still, the French managed to suppress one of the German platoons in the road. 

As Rommel's men moved through the fields, a French sharpshooter fired on them and pinned (broke) the lead platoon.

Image

After consolidating their line, the Germans pushed their way towards the village in earnest but ahead of them a shell struck and set the woods ablaze, forcing the Germans to split up their command again as Hpt. Waldau took his platoons around the conflagration.

While firing on the French positions the German MG jammed - the crew labored furiously to clear the gun and bring it back into action. 

Image
A broken weapon (MG in this case) checks every time a card is drawn to determine a random hex for some Event or Order. One band of numbers is a repair, one means nothing changes, and another is permanently broken

I'm missing some pictures here but the Waldau's company swung around the village while Rommel's company made little ingress, but the MG was repaired and unleashed on French units occupying the largest buildings in the village.

The French attempted to counter Waldau's advance by acting the aggressor, but were defeated in close combat and moments later, the French platoon in the building on the German left, was cutoff and surrounded.

Meanwhile French barbed wire emplacements were glimpsed through the fog blocking the German road approach to road leading out of the village.

Image

In a valiant last stand, the Red Trousers held their ground against repeated attacks, but eventually succumbed to the combined fire power of multiple platoons against their position.

As the fog lifted, the extent of the French wire defenses blocking the road became clear.

Image
Wire is places as the result of an Action. I just like the narrative of the fog lifting - which happens when the time tracker reaches 6.

The French maneuvered around the village to draw the Germans to them while avoiding coming under fire as much as possible, making their way back to the large building protected by the wire.

By Waldau ordered Rommel and his platoons to press onwards out of the village.

Image

Geraman reinforcements arrived at the other end of the road. Any resemblance to Rommel and his company is purely coincidental.
Image

Hpt. Waldau pushed his troops through the wire to reach the last French occupied building. When the dust cleared, the village had fallen.
 
Image
The French had an event occur where a leader was recalled to return later as a reinforcement - on the plus side, the remaining units were so pressed together, they could not be out of choesion!  Notice too, the flames have spread!

The game ended with a French surrender and automatic loss.

Even if they hadn't, the score was lopsided, with the Germans scoring 34 vp vs the French 7 VP.

Image

***
The French actually were doing OK for much of the game. Their downfall began in earnest when they drew an Event where command meddles and you're forced to draw a card and use it for your next order. It was an Advance order - the aggressive French attempt to counter the Germans lead to the isolation of the French unit near the end of the game.

Although I did enjoy witnessing their heroic last stand!

Playing the rules as intended, with one Order per turn for any given unit, changed the game a bit - more discards, waiting for the right cards to appear. This worked in the French favor on occasion, as it held up the German advance somewhat. However, they too were waiting for cards and more often than not the Germans got their needed cards first.

Also, eagle-eyed readers may notice Runners on the map. I had avoided using them unintentionally - I just wasn't reading the card text properly. The French runner could have earned them VPs but they never got a chance.

I'm ready for the next scenario, which introduces off-board artillery and an on-board howitzer!